How to Clean a Pheasant
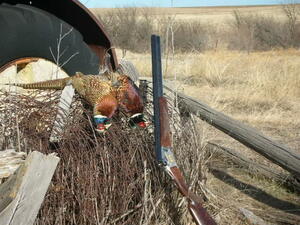
Here is one way to begin preparing pheasants for the table.
Equipment needed: a sturdy pair of kitchen or game shears.
At all steps in the process take care to avoid cutting yourself on the sharp edges of broken bones.
Step 1
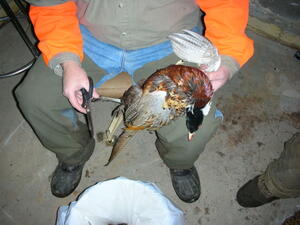
First, remove the wings by cutting them off as close to the body as possible. Again, watch out for broken bones.
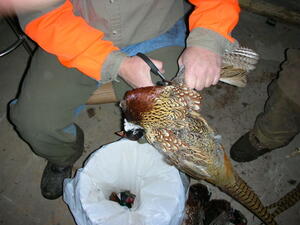
Step 2
Remove both wings.
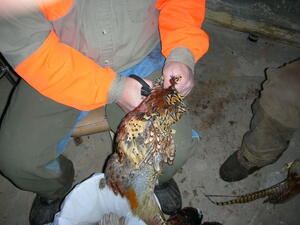
Step 3
Remove the head by cutting thru the neck as close to the body as possible.
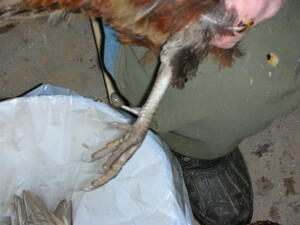
Step 4
The next step is to remove the legs. Remember that you must keep one leg attached to the bird for transport. The spur on the leg identifies the bird as a legal cock pheasant.
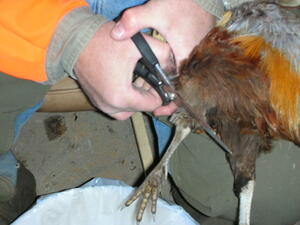
Step 5
Remove the leg by cutting at the “knee” joint.
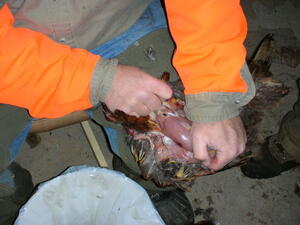
Step 6
Starting at the top of the breast, skin the bird by pulling the skin toward the tail.
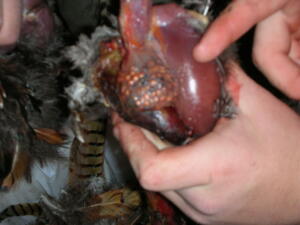
Step 7
As you begin skinning, the crop will be exposed.
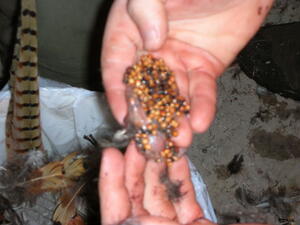
Step 8
By noting what food is in the crop (milo pictured) you can begin to plan your next hunt to take advantage of this information
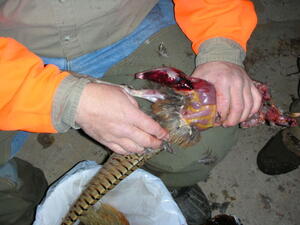
Step 9
Skin all the way to the tail. Remove tail by cutting it off at the point where it joins the body.
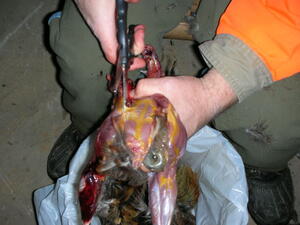
Step 10
Cut along both sides of the backbone from neck to tail.
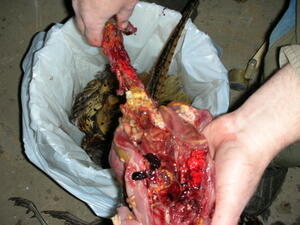
Step 11
Pull backbone from tail to neck. Most of the entrails will come with it. Remove any remaining entrails and the lungs.
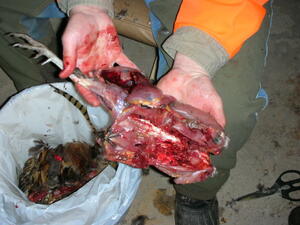
Step 12
After washing in cold water, this bird is ready for packaging. Cleaned quickly and properly this bird will make for some fine eating.
Thanks to Ray Fischer, Claflin for his assistance in this project.

